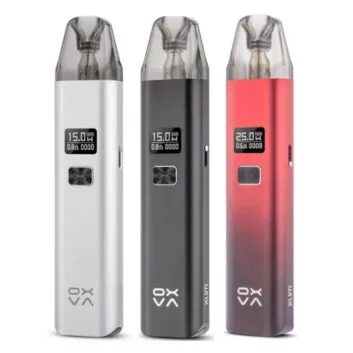
Are you the proud owner of an OXVA Xlim Pod Kit? you have come to the correct place! In this comprehensive guide, we'll walk you through the steps of properly filling your Xlim Vape Pod, assuring a perfect vaping experience every time. The Oxva Xlim Pod Kit design is simple, making it easy to ideal for new and seasoned vapers.
Whether you're new to vaping or seeking a replacement device, this sleek and compact kit offers unmatched convenience and performance. With our simple instructions, you'll learn how to efficiently fill your Xlim Vape Pod with your preferred e-liquid while avoiding messy spills or leaks. Explore the OXVA Xlim Vape Pod Kit with us as we go deep into its world and learn how to fill your device properly for a pleasurable and fulfilling vaping experience. Now let's get going!
Understanding the Components of the OXVA Xlim Vape Pod Kit:
Before we start filling your OXVA Xlim Vape Pod, let's go over the kit's various components. The Xlim Vape Pod Kit includes the following parts:
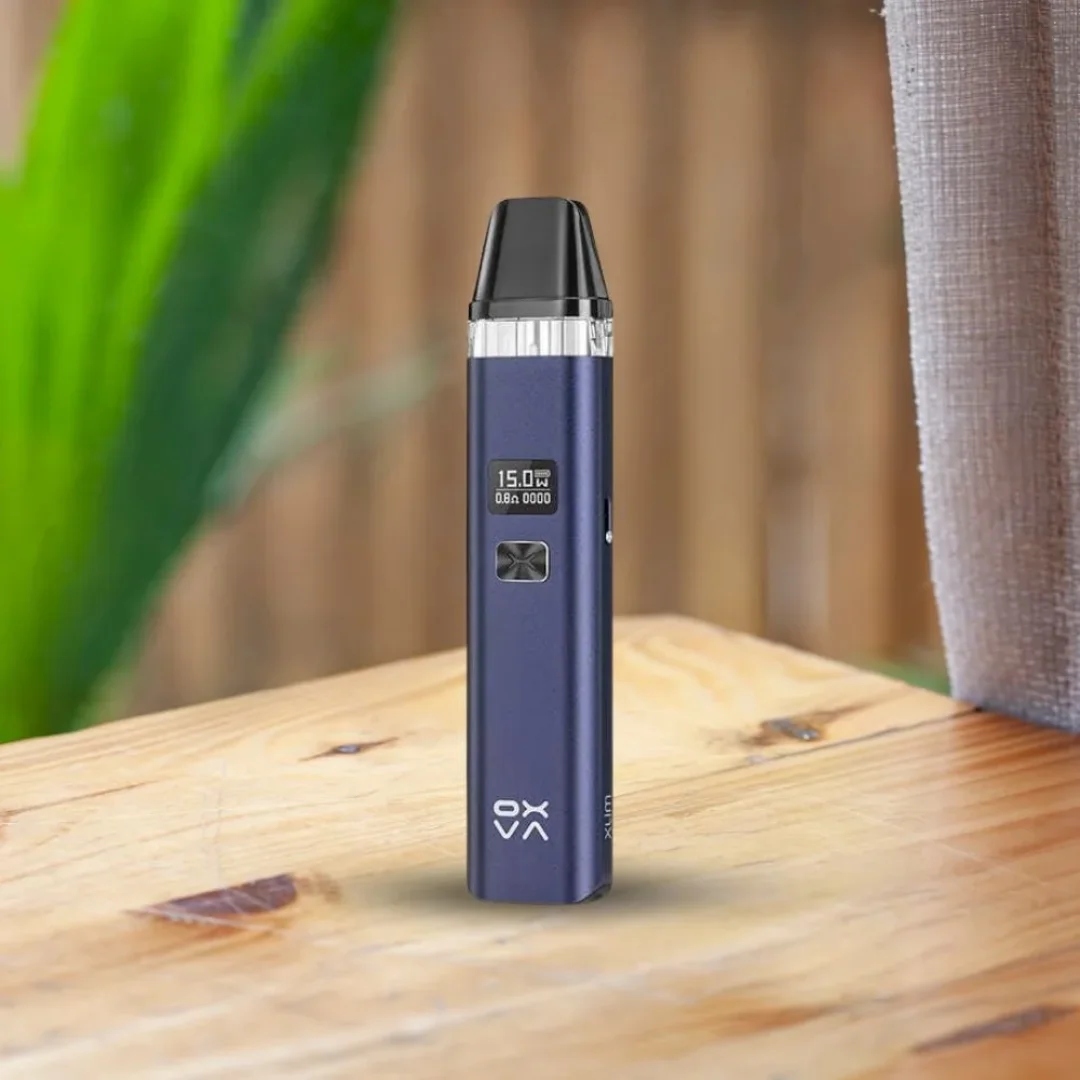
Xlim Vape Pod: This is the main component and contains the E-liquid. It has a capacity of 2ml, leaving ample space for your favorite flavors.
Pod Cap: To stop leaks and spills, the filling port is tightly covered with a tiny silicone cap called a "pod cap."
Filling Port: You put your e-liquid into the filling port, which is on the side of the Xlim Vape Pod.
Coil: The coil heats the e-liquid, creating the vapor you inhale. The Xlim Vape Pod Kit includes one pre-installed coil, however extra coils can be purchased separately.
How to Use the XLIM Pod Kit:
Remove the pod cover: Start by gently removing the pod cap from the Xlim Vape Pod. Set it aside carefully to avoid losing it.
Locate the filling port: Next, find the filling port on the side of the Xlim Vape Pod. It's covered by a small rubber plug that helps prevent e-liquid leaks.
Remove the Rubber Plug: Use your fingernail or a small tool to remove the rubber plug from the filling port. Be careful not to harm the plug or port during this process.
Fill the pod with E-liquid: Once the filling port is visible, you can fill the pod with your choice of e-liquid. Hold the pod at a small angle while slowly pouring e-liquid into the filling port. Avoid overfilling the pod, since this may cause leaks.
Replace the Rubber Plug: After filling the pod, secure the rubber cap back into the filling port. Make sure it is properly sealed to keep any e-liquid from escaping.
Attach the Pod Cap: After the filling is completed, replace the pod cap on the Xlim Vape Pod. Gently press it down until it fits tightly and creates a proper seal.

Selecting the Appropriate E-liquid for your OXVA Xlim Vape Pod Kit
The e-liquid you chose has a significant impact on your vaping experience. When picking the correct e-liquid for your OXVA Xlim Vape Pod Kit, consider the following factors:
Nicotine Strength: Determine the amount of nicotine you prefer in your e-liquid. The Xlim Vape Pod Kit works with freebase nicotine and nicotine salt e-liquids.
Flavor Profile: Explore the market's diverse cuisines. Choose flavors that suit your tastes, whether you prefer fruity, dessert, or tobacco-inspired selections.
VG/PG Ratio: The VG/PG ratio influences the viscosity and vapor production of an e-liquid. For the greatest results with the Xlim Vape Pod, use e-liquids with a high PG percentage.
Quality and Brand: Invest in high-quality e-liquids from well-known brands to ensure a safe and consistent vaping experience.
Proper Maintenance and Care:
To maintain the longevity and best performance of your Xlim Vape Pod Kit, it is critical to practice correct maintenance and care. Here are some strategies to keep your electronic device in great shape. When not in use, keep your Xlim Vape Pod Kit cool and dry, out of direct sunlight and severe temperatures. This will help to retain the e-liquid's integrity while also preventing device damage. Following these maintenance procedures, you may extend the life of your OXVA Xlim Vape Pod Kit and have a constantly pleasurable vaping experience.
Troubleshooting Common Issues:
Here are some troubleshooting suggestions to assist you in dealing with these issues:
If you suffer e-liquid leaks, make sure the rubber plug is properly secured. In addition, check the pod for any damage or wear and replace it as needed. A burnt flavor could mean that the coil needs to be replaced. Coils can wear out over time, which affects flavor and vapor output. Replace the coil with a new one to get the best vaping experience. If you're not obtaining enough vapor, ensure that the pod is properly filled and that the contacts are clean. Adjust the airflow parameters if available, as reduced airflow might have an impact on vapor output.
Compare to Other Vape Pod kits on the Market:
Here are some major benefits of the Xlim Vape Pod Kit:
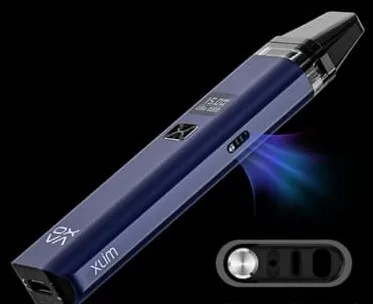
Sleek and small design: The Xlim Vape Pod Kit's sleek and portable size makes it ideal for on-the-go vaping.
Simple filling process: The Xlim Vape Pod Kit's filling technique reduces the possibility of leaks and spills.
Versatility: The Xlim Vape Pod Kit is compatible with freebase nicotine and nicotine salt e-liquids, giving vapers a wide range of options.
Numerous coil alternatives: OXVA provides a wide range of coil options for the Xlim Vape Pod Kit, allowing customers to customize their vaping experience to their preferences.
Remember that selecting the best vape pod kit is a personal choice, and you must consider your specific vaping needs and preferences while making a purchase.


0 comments For The Comprehensive Guide to the XLIM Pod Kit